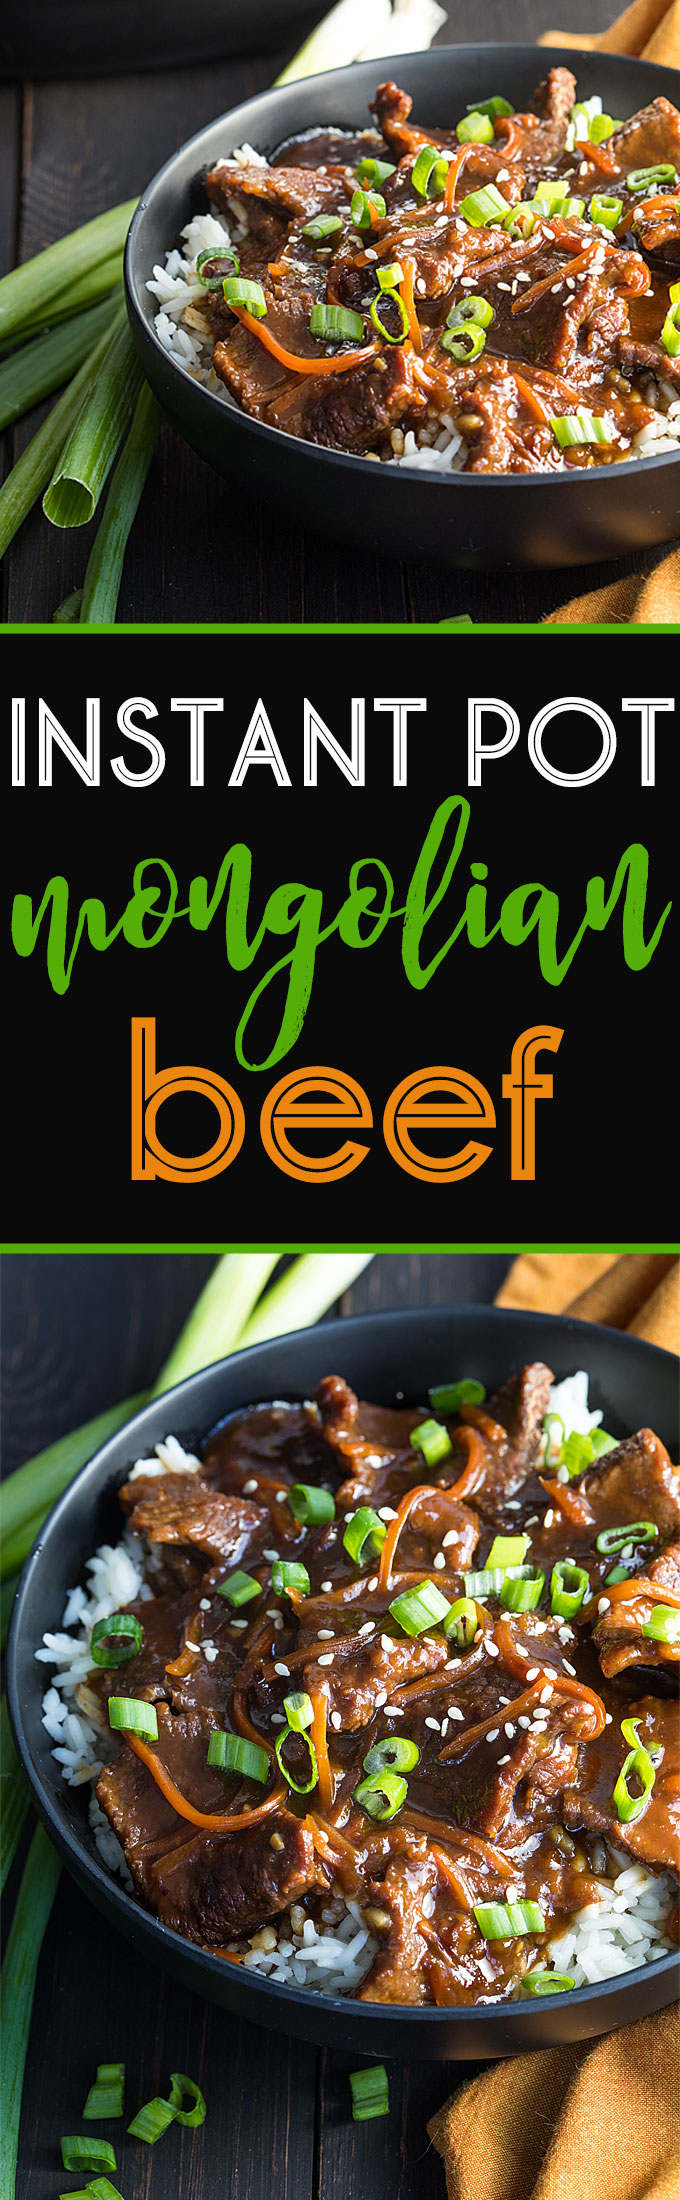
This quick and easy Instant Pot Mongolian Beef is on the table in a fraction of the time than when cooked on the stovetop. Tender and flavorful Mongolian beef in a sweet and savory sauce has never been easier than when prepared in your pressure cooker!
Instant Pot Mongolian Beef
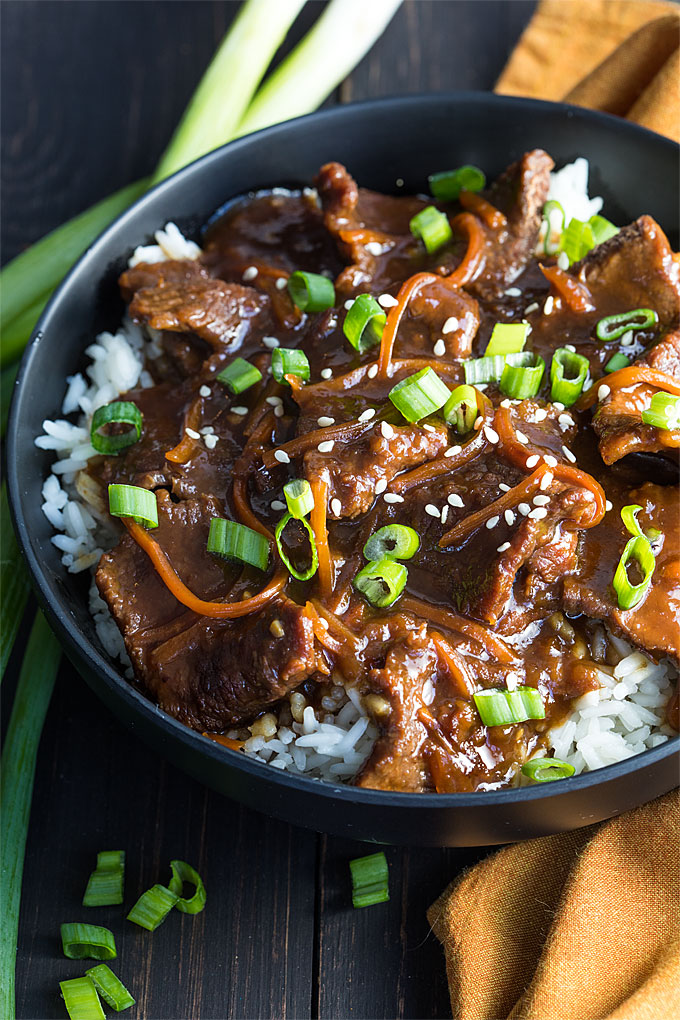
My new Instant Pot has been a total game-changer when it comes to getting a meal on the table on busy weeknights. I was completely amazed at how tender and flavorful this beef was… like it had been slow cooking for hours and hours!

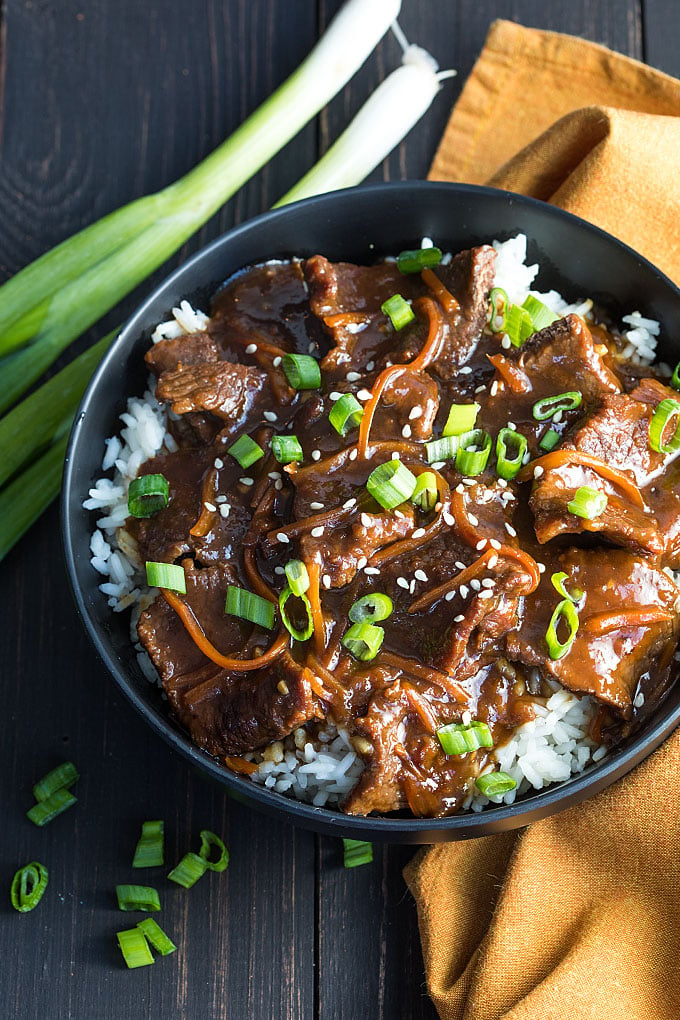
This sweet and tangy Mongolian beef is on the table in less than an hour from start to finish, and it’s so much better than takeout!
5 Star Review
I made this recipe the other night and it was a HUGE hit with my kids! I just got my instant pot and this was the first recipe I made using it. I was kind of intimidated to use my instant pot but this recipe was so easy and so tasty and now I love using my instant pot! Thank you for this recipe! ~ Christina
Storing Leftovers
Once cooled, store leftovers in an airtight container in the fridge for up to 3 to 4 days.
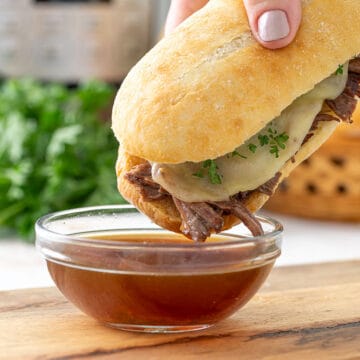
If you prefer using a slow cooker, be sure to check out my slow cooker Mongolian beef (it’s just as delicious!).
I hope you enjoy this quick and easy Mongolian beef as much as we did!

Instant Pot Mongolian Beef
Ingredients
- 2 pounds flank steak sliced into thin strips across the grain
- 2 ½ tablespoons olive oil
- ¾ teaspoon minced fresh ginger root
- 2 teaspoons minced fresh garlic
- ¾ cup soy sauce I used low sodium
- 1 cup water
- 1 cup packed dark brown sugar
- ¼ cup hoisin sauce
- 1 cup shredded or julienned carrots
- 3 tablespoons corn starch
- ⅓ cup cold water
- ¼ cup sliced green onions optional garnish
- ½ teaspoon sesame seeds optional garnish
- Cooked white rice
Instructions
- Place ginger root, garlic, soy sauce, 1 cup water, brown sugar, and hoisin sauce in a medium bowl. Stir well to combine.
- Set your Instant Pot to the saute setting. Add olive oil. When olive oil is heated, add beef and saute for 2 to 3 minutes, stirring frequently.
- Pour mixture over beef and stir to combine. Add carrots and stir again.
- Turn Instant Pot off. Place the lid on and lock. Steam release knob should be set on “sealing”.
- Cook on manual setting (high pressure) for 10 minutes. Allow the pressure to naturally release for 10 minutes, then quick release remaining pressure.
- Carefully remove lid and stir. Turn off Instant Pot.
- Prepare the cornstarch slurry by whisking together cornstarch and ⅓ cup cold water in a small bowl or large measuring cup until smooth. Add to sauce and stir to combine. Turn on the saute setting and continue to stir until slightly thickened (about 2 minutes). Turn off your Instant Pot. Sauce will thicken as it sits (about 5 minutes).
- Serve over cooked white rice (if desired) and top with sliced green onions and sesame seeds.
Video
Notes
- Cook time includes the time it took my pot to come to pressure.
- I used an Instant Pot LUX80 8 quart in this recipe.
- Once cooled, store leftovers in an airtight container in the fridge for up to 3 to 4 days.
- Nutrition info does not include rice.
Nutrition
If provided, nutritional info is a courtesy, is not guaranteed and should only be considered as a guideline.


Julie Bennethum
One of the best dishes I’ve made in my instapot
Tricia
This recipe is so simple but oh so good. I’ve made it about 5x’s already. I do cut the sugar back to 1/2 cup as the hoisin sauce adds sweewtness as well. I also add in 1/4 – 1/2 tsp of crushed red pepper flakes. I was out of beef and also out of venison so this evening I used elk. Came out really good and tender. YUM!!!
Helena
I made it tonight and it was FANTASTIC!!! Thank you!
So happy you enjoyed it, Helena! 🙂
Mike
I made this but didn’t have carrots. Hope it works out.
Tami
Hi,
I’m not sure if I did something wrong, but beef fell apart and it had a lot of liquid compared to beef ratio. It was good but a bit sweet for my taste – I’ll cut back on the brown sugar next time. Will likely make adjustments to reduce spiciness of end product.
Any suggestions? Oh yeah, I will slice the flank a bit thicker next time.
Amy
So so good! Even my picky 12 year old son LOVED it and came back for seconds. I made as published with no substitutions and it was delicious!
Thanks so much, Amy! Glad to hear your son loved it too! 🙂
Sue
This was my first ever recipe I tried in the Instantpot and it was delicious! It got me over my intimidation. I steamed broccoli separately because I like it crispy and stirred that in at the end with another handful of Raw carrots for crunch. Served with brown rice I made in my rice cooker. So happy with this recipe. Thanks
That sounds delicious, Sue! Thank you for sharing. I was really intimidated with my Instant Pot when I first got it, too. All I could think of was a story my mom told me as a child about scraping beans off of the ceiling after a (traditional) pressure cooker mishap… LOL! So happy you enjoyed the Mongolian Beef! 🙂
Rosalia
Much too sweet, next time I will reduce the brown sugar by half
Alan Fisher
Hi, this recipe looks great and I’m off to buy the ingredients. Can you just clarify if it’s light or dark soy sauce? Thanks
Hi Alan, This is the soy sauce I used in this recipe. I hope you enjoy the Mongolian Beef! 🙂
Lynn
Made this tonight and it was fantastic!Question…If I want to cook the rice at the same time, but the cooking times are different,how do I adjust?
Adrienne
This was amazing! We added a Pimento hot sauce and needed up being amazingly delicious! Thank you !!!!
That sounds delicious, Adrienne… thank you so much! 🙂
Garrett
I’m planning on doing this tonight, but realized you said 10 minutes included your pressure cook time. Mine takes like 10 minutes to pressurize…not sure what to do.
Hi Garrett, at the top of the recipe card it states that total cook time is 38 minutes. This includes initial saute time (3 minutes), pressure time (10 minutes), NPR time (10 minutes) and thickening the cornstarch slurry on the saute mode again (about 2 minutes) for a total of 25 minutes, which leaves 13 minutes left which was the time it took for my pot to come to pressure. This is an estimate, as times will vary slightly. Hope you enjoy it! 🙂
Angela Allen
I have a new Instant Pot and am pretty interested in this recipe. I have to say, that seems like a lot of sugar. How sweet does the final dish taste?
Hi Angela, it’s definitely sweet (and spicy), which Mongolian sauce is supposed to be. Hope you enjoy it if you make it! 🙂
Angela Allen
I made it and reduced the sugar to 1/2 cup. It was fine for us. I think I might make it spicier next time and I agree with an earlier poster that it would really be good with broccoli.
Michelle
Angela, I agree on all counts. I added frozen broccoli florets after the pressure cooking while thickening the sauce. What do you think you’d add for spice? Cayenne pepper, maybe?
Stacey Kerr
This was so great! Husband raved and both kids went back for seconds – a usually unheard-of occurrence! The only difference is I used arrowroot since I didn’t have cornstarch in the house. Thanks so much for this recipe!
Thanks so much, Stacey… that makes me smile! 🙂 So happy to hear everyone (even the kids!) enjoyed it!
Christina Gillis
I made this recipe the other night and it was a HUGE hit with my kids! I just got my instant pot and this was the first recipe I made using it. I was kind of intimidated to use my instant pot but this recipe was so easy and so tasty and now I love using my instant pot! Thank you for this recipe!
Thanks, Christina! So happy to hear you (and the kids, too!) enjoyed it! I was intimidated as well when first using the Instant Pot. Hope you enjoy yours as much as I have! 🙂